A Homeowner’s Guide to Energy Meters: Types, Installation & How to Choose the Right One
Whether you’re monitoring your household power consumption, splitting electricity costs between tenants, or simply want better control over your energy bill, installing the right energy meter makes all the difference. Here’s a practical guide to understanding and using energy meters at home.
What Does an Energy Meter Do?
An energy meter measures the electrical energy consumed by your home or a specific circuit, recorded in kilowatt-hours (kWh). It sits between the incoming supply and your distribution board, tracking how much power flows through over time — the same principle your utility company uses to bill you, but at a sub-metering level you control.
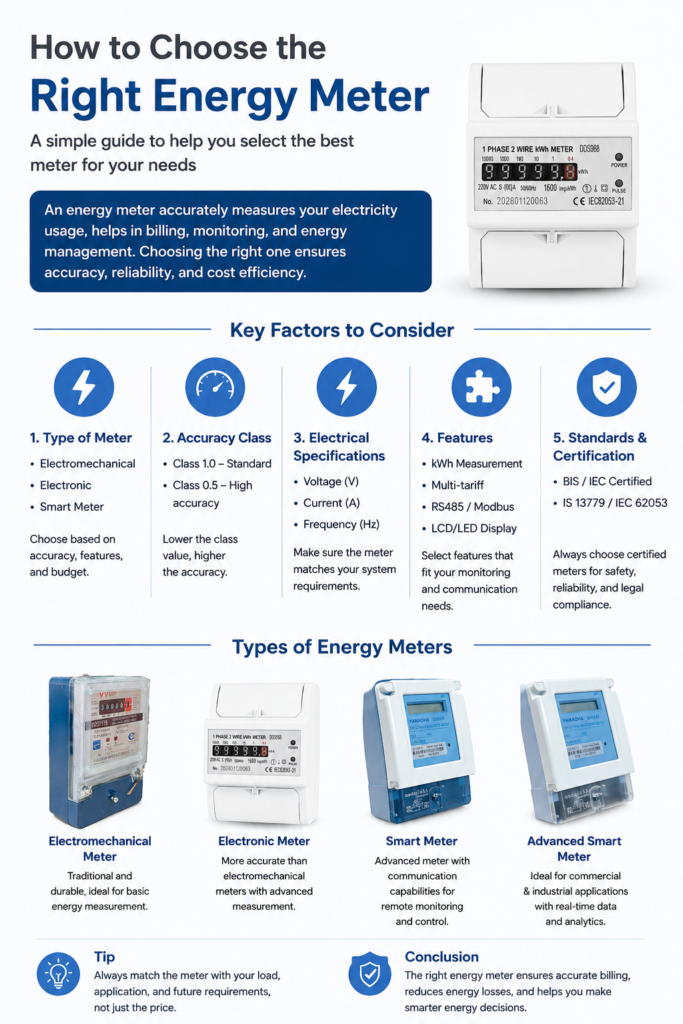
Analog vs Digital Energy Meters
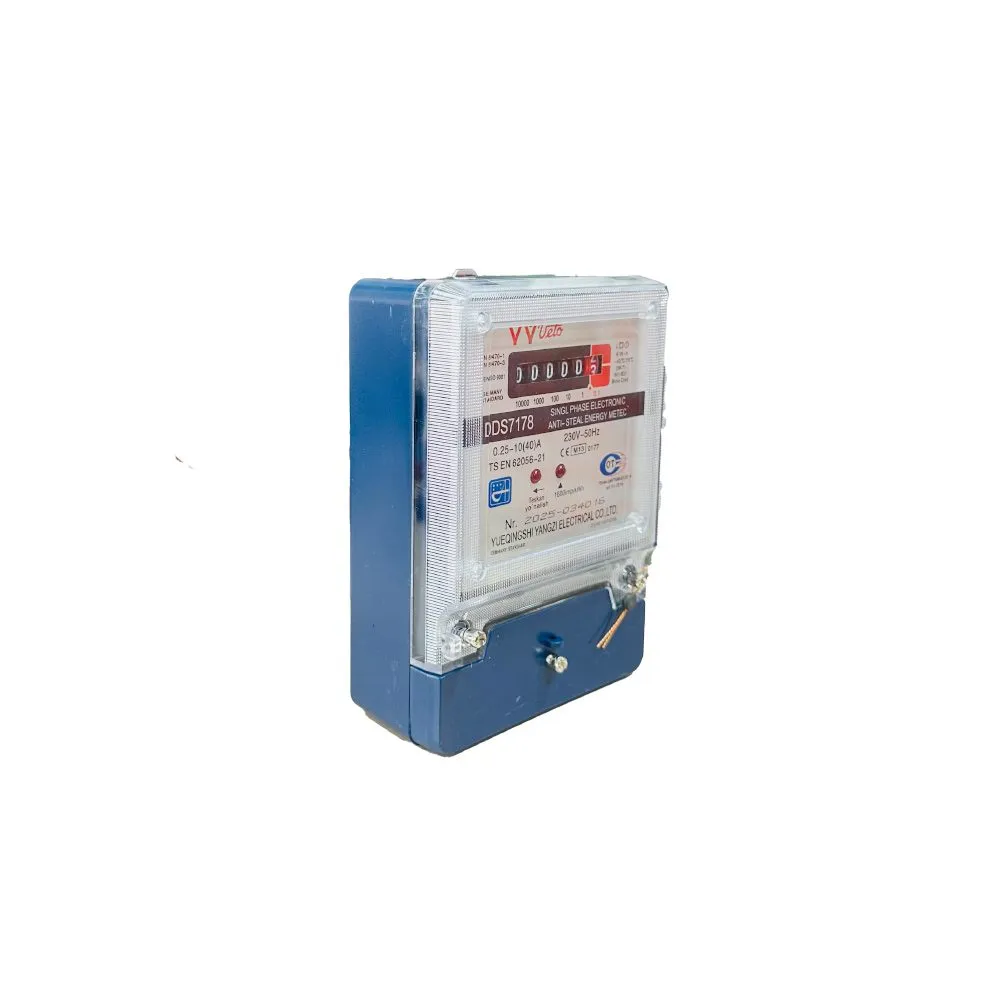
Analog (Electromechanical) Meters
- Use a rotating aluminum disc driven by electromagnetic induction
- Reading is taken by observing the dial or the number wheels
- Rugged, simple, and unaffected by power surges or electronic faults
- Cheaper upfront but less accurate over time as mechanical parts wear
- No remote reading, no additional data (like voltage or power factor)
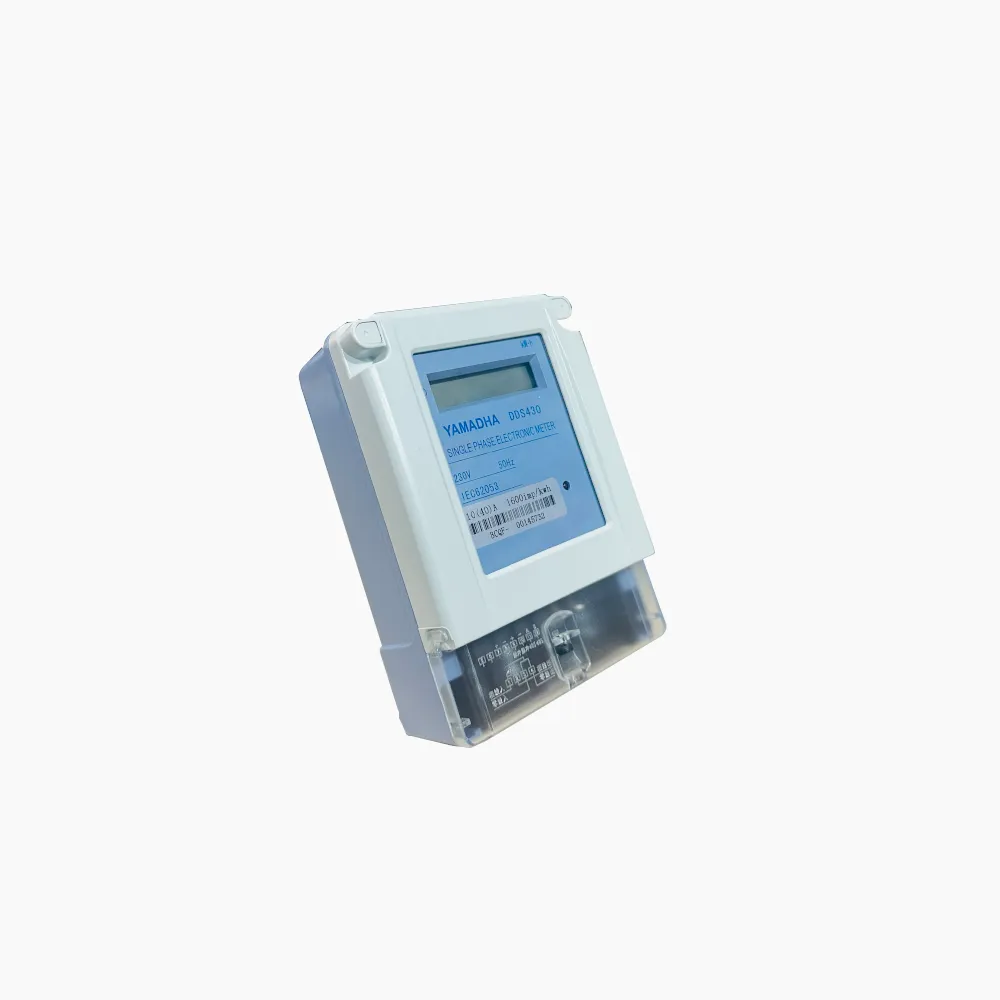
Digital (Electronic) Meters
- Use microprocessors and solid-state components to measure consumption
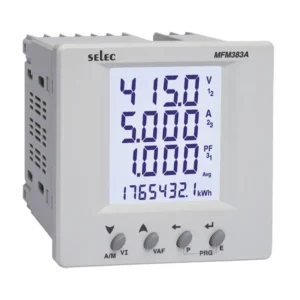
- Display readings on an LCD/LED screen — often with extra data like voltage, current, and power factor
- More accurate, especially at low loads
- Many models support remote reading, prepaid functionality, and data logging
- Slightly more expensive but pay off with precision and functionality over time
Recommendation: For most modern homes, digital meters are worth the extra cost — especially if you want to track usage trends or catch phantom loads from idle appliances.
Single Phase vs Three Phase Meters
Single Phase (230V AC)
- Standard for most residential homes in Sri Lanka
- Handles typical household loads: lighting, fans, TVs, refrigerators, washing machines
- Simpler wiring — one live wire, one neutral
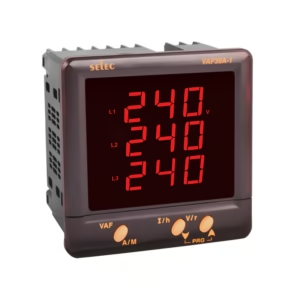
Three Phase
- Needed for homes with heavy loads: large air conditioners, electric ovens, workshops, or bigger properties with higher overall demand
- Distributes load across three live wires (R, Y, B) plus neutral, balancing power draw and reducing strain on any single line
- Common in larger houses, home businesses, or properties with three-phase supply from the utility
If you’re unsure which you need, check your existing supply connection or ask your electrician — upgrading from single to three phase involves both utility approval and rewiring.
DIN Rail Mount vs Wall Mount Meters
DIN Rail Mount
- Clips directly onto the standard DIN rail inside your distribution board (DB)
- Compact, tidy, and the standard choice for modern consumer units
- Easy to install alongside MCBs and RCCBs in the same enclosure
- Preferred for new installations and DB upgrades
Wall Mount
- Mounted independently on a wall or panel, often in a separate enclosure
- Useful when there’s no room in the existing DB, or for standalone/outdoor sub-metering setups
- Requires more space but is easier to retrofit without disturbing the main board
For most homeowners upgrading or building fresh, DIN rail mount is the cleaner, more space-efficient option.
Current Ratings: 30A, 63A, 100A — Which One Do You Need?
The current rating determines the maximum load the meter can safely handle:
| Rating | Typical Use |
|---|
| 30A | Small apartments, single-room sub-metering, light residential loads |
| 63A | Standard homes with normal appliance loads (most common household choice) |
| 100A | Larger homes, homes with three-phase equipment, or heavier combined loads (AC units, electric water heaters, etc.) |
Rule of thumb: Add up your expected simultaneous load (in amps) and choose a meter rated comfortably above that — don’t run a meter near its maximum continuously, as this shortens its lifespan and risks overheating.
How to Install and “Fix” an Energy Meter Safely
Important: Always turn off the main supply at the DB before touching any wiring. If you’re not confident working with live electrical connections, hire a licensed electrician — incorrect wiring can cause meter damage, fire risk, or inaccurate billing.
General installation steps:
- Isolate the supply — switch off the main breaker and verify with a voltage tester.
- Mount the meter — clip onto the DIN rail or fix the wall-mount enclosure securely.
- Connect incoming supply — connect the live and neutral from the main supply to the meter’s input terminals.
- Connect outgoing supply — wire the meter’s output terminals to your distribution circuit (MCBs/RCCBs).
- For three-phase meters — match R, Y, B phases correctly to avoid imbalance; incorrect phase sequencing can cause reverse readings on some digital meters.
- Secure and label — tighten all terminal screws to the correct torque, and label the circuit clearly.
- Restore power and test — switch the main supply back on and confirm the meter powers up and registers consumption correctly.
Final Tips
- Always match the meter’s voltage/current rating to your actual supply — don’t undersize.
- For rental properties or shared spaces, digital sub-meters make billing disputes far easier to resolve.
- Have your installation inspected by a certified electrician, particularly for three-phase setups.
Need help choosing or installing the right energy meter for your home? Get in touch with Gunarathne Electricals — we supply and install analog and digital, single-phase and three-phase meters in both DIN rail and wall-mount formats, matched to your home’s exact load requirements.